Fixing Linux Crashes and GRUB Issues After Updates
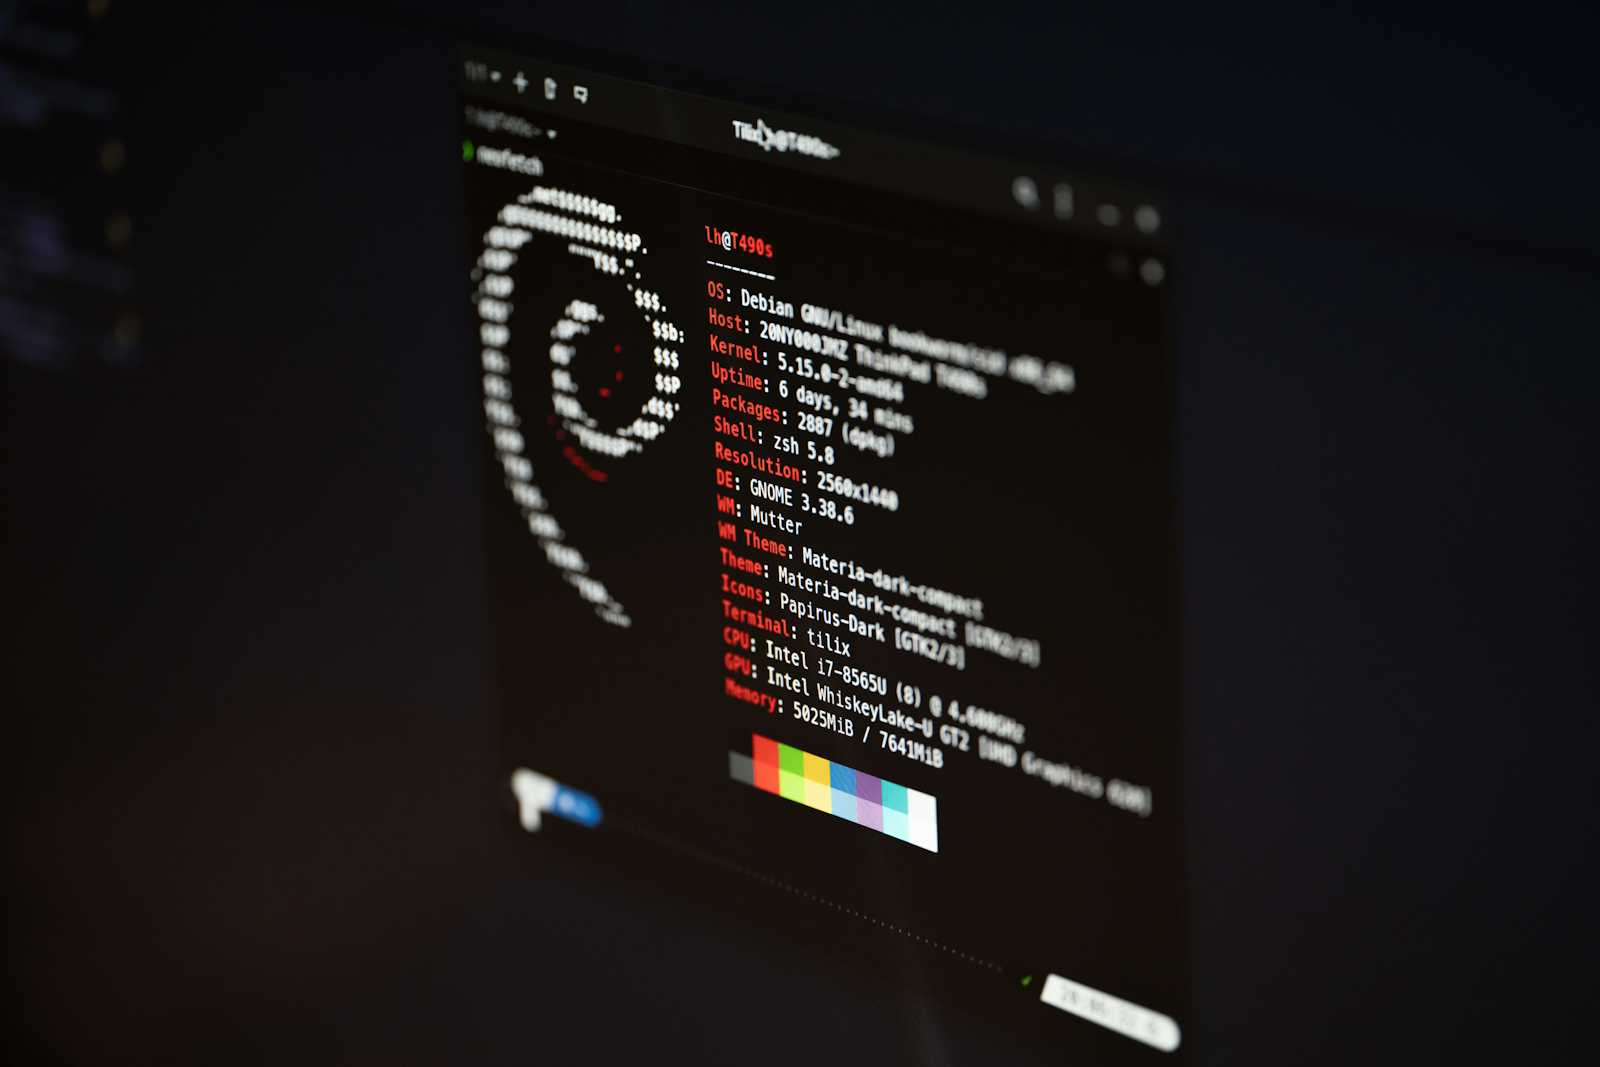
If you're encountering system crashes after rebooting following an update or upgrade, this guide will help you troubleshoot and resolve the issue. The following steps outline the process I used to fix the problem on my system successfully.
Let us look into the GRUB configuration first.
GRUB configuration
To fix your GRUB configuration by booting into a live USB environment, follow these steps:
Create a Bootable USB:
First, you’ll need a bootable USB drive with a Linux distribution. You can use tools like Rufus (on Windows) or
dd(on Linux) to create this.Rufus is simply a GUI which can be used to make USB bootable.
dd is used in a shell in a Linux system with the command line of
sudo dd if=path/to/file.iso of=/dev/<device-name> bs=1M status=progressBoot from USB
Insert the USB drive into your computer and boot from it entering the BIOS setup or using the boot menu. The menu is often accessed by pressing keys like F2, F10, F12, ESC during boot which is dependent upon the vendor.
Open a Terminal
Once you’ve booted into the live environment as a guest, then fire up the terminal to perform the remaining steps.
Identify Partitions
Identify the partitions of your installed Linux system. You can use the GUI
gpartedwhich can be installed using the commandsudo apt install gpartedor can be usedlsblkorfdisk -lcommand to list the partitions. Look for your root partition and your EFI or boot partition (if applicable).Mount the Partitions
Mount the necessary partitions. You’ll need to mount the root partition and the
EFI/boot partition(if applicable).Let us assume
/dev/sda2is your root partition and/dev/sda1is your EFI/boot partition then we can use the following command to mount:sudo mount /dev/sda1 /mnt/boot/efi #only if you have EFI filesudo mount /dev/sda2 /mntBind Mount System Directories
Bind mount the necessary system directories. The bind option of the mount command allows you to remount part of a file hierarchy at a different location while it is still available at the original location.
sudo mount —bind /dev /mnt/devsudo mount —bind /proc /mnt/procsudo mount —bind /sys /mnt/syssudo mount —bind /run /mnt/runChroot into Mounted System
Change root into the mounted system:
sudo chroot /mntEdit GRUB Configuration
Now, you can edit the GRUB configuration file. Open the GRUB configuration file located
/etc/default/grubusing any text editor, such as nvim, vim, nano or any other editor.using nano:
nano /etc/default/grubusing vim:
vim /etc/default/grubFind the line that sets the GRUB timeout and change it. For example, change
GRUB_TIMEOUT=0toGRUB_TIMEOUT=10.Save the file and exit the editor (in
nano, you can save by pressingCTRL+O, to exitCTRL+X; invim or nvimpressescand then type:wqwhich will save and exit.Update GRUB
To apply the changes you made just runt the command
update-grubExit Chroot and Umount Partitions
Exit the Chroot environment and unmount the partitions
exitsudo umount /mnt/boot/efisudo umount /mnt/devsudo umount /mnt/procsudo umount /mnt/syssudo umount /mnt/runsudo umount /mntReboot
Finally, reboot your system
sudo reboot
Remove the USB drive and let your system boot normally. The GRUB menu should now appear with the updated timeout value. By these steps, you should be able to edit your GRUB configuration and fix the issue with the boot menu not showing.
Update error system not rebooting
For this case, Follow the above steps up to 7 then run
sudo apt update && sudo apt upgrade
using the above command you can be able to recover your system.
If the system still through the error then follow the steps:
Connect to internet
Make sure your
PCis connected to the internet either by ethernet or wireless.Manually Download the deb files
When running the command
sudo apt updateorsudo apt upgradewhen there is any error like supposelibglibd-2.0-0. If so, then visit the linkhttps://packages.debian.org/stable/libs/libglibd-2.0-0from where depending upon your system you have to download manually and install usingdpkg.Repeat the process until
updateorupgradestops throwing errors. After the success ofupdate and upgrademove to next step.Reboot
After the success in
updateandupgradeof the systemrebootthe system and removeUSBand let your system boot normally.
Whether it's editing the GRUB timeout, addressing boot menu visibility, or recovering from update errors, these methods provide a reliable way to troubleshoot common issues. If you continue to encounter problems, make sure to check for specific error messages, consult the community for guidance and do proper research before you apply. By applying the above methods, the problem within my system was solved.
About the author
I am currently pursuing a bachelor's degree in Electronic, Communication and Information Engineering at Pashchimanchal Campus(WRC), IOE, Tribhuvan University. I am passionate about Cybersecurity, Software Development and Data Science.
Comments
Join the discussionNo comments yet. Be the first to comment.
